Autodesk ESTmep - Job Synchronization and RFQ Submittal
Follow the steps below to synchronize an ESTmep job to CINX and create/send an RFQ.
- Open the Fabrication ESTmep job. Make sure to be in the ESTmep Configuration AND Profile that you would like to use. Note: You must have previously synchronized the catalog and profile to CINX.
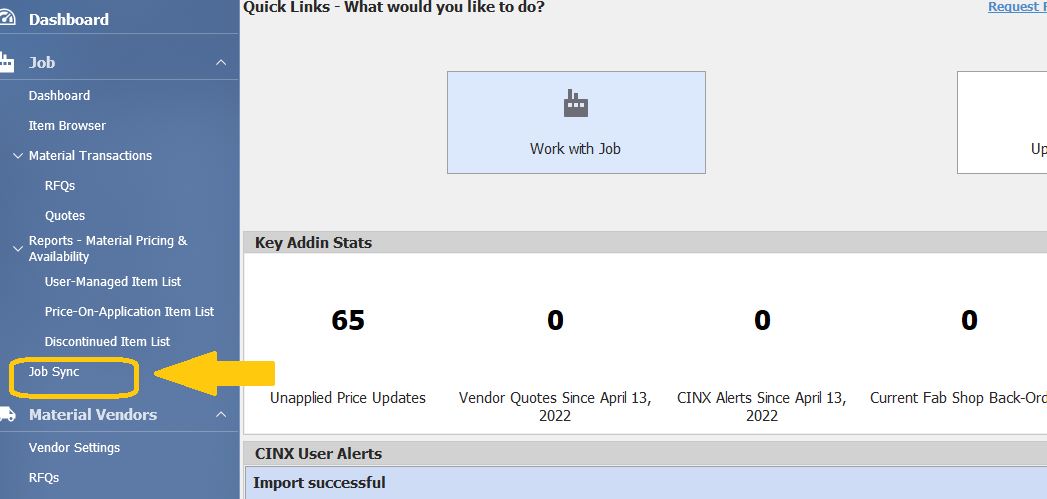
- Open the CINX ESTmep add-in.
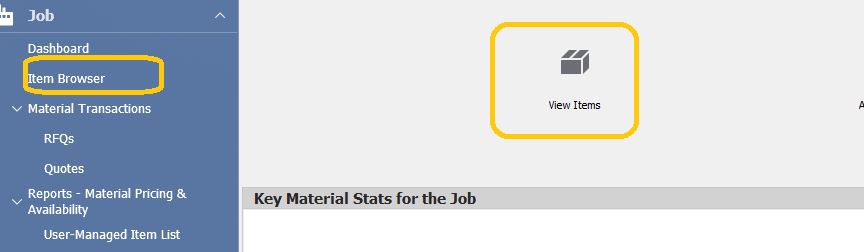
- From the left menu, click the Job Sync
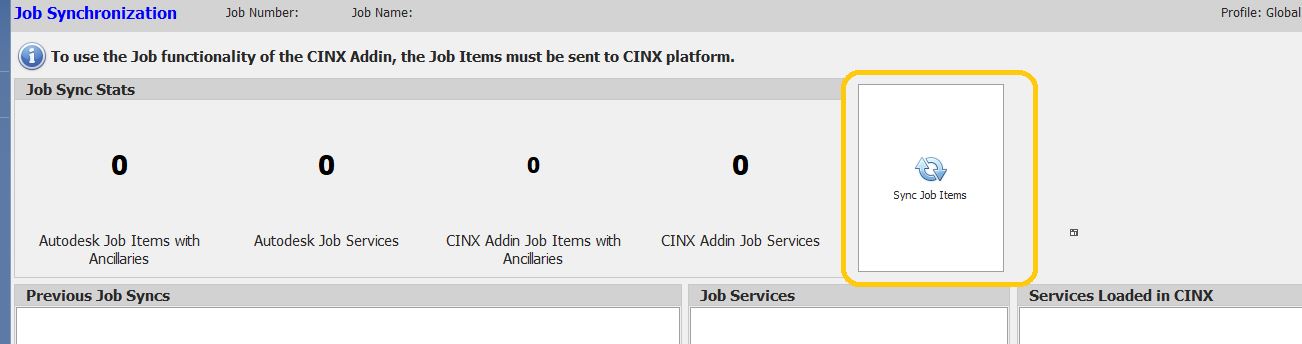
- On the Job Synchronization page, click Sync Job Items.
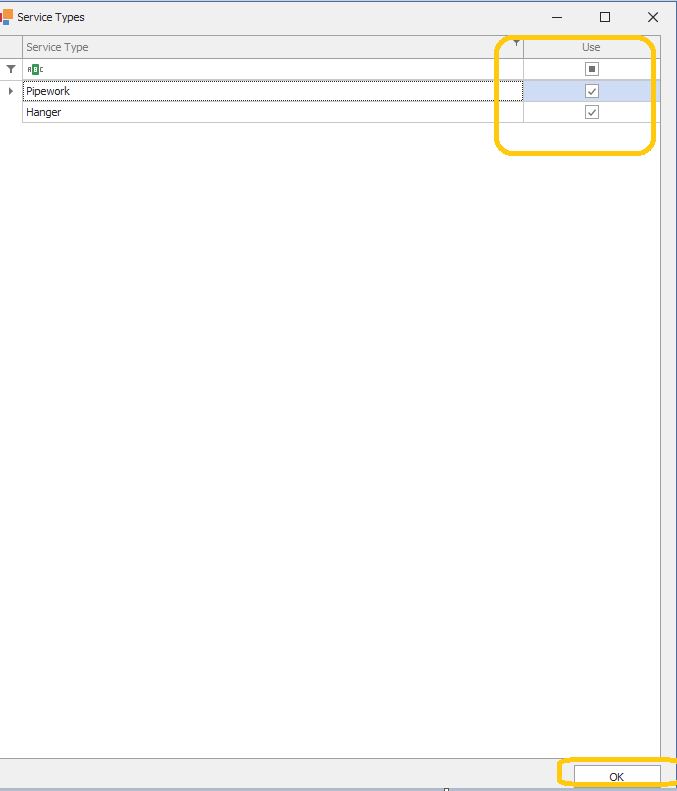
- Select the desired Service Types and click OK. Note: If you have previously defined service types on the default settings menu, they can be overridden here. If you uncheck a service type, the items in that service will be EXCLUDED from the job synch (joints, for example, maybe one to not synchronize).
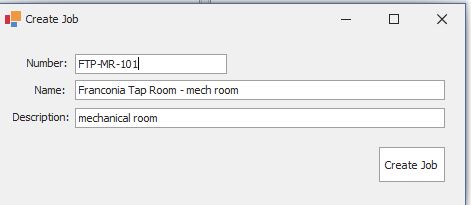
- Review and/or enter Job information. Note: The Description field is optional.
- The project will be created in CINX and items will be copied to the CINX Project. Note: Depending on job size, this may take some time. You can watch the item count to monitor the sync process.
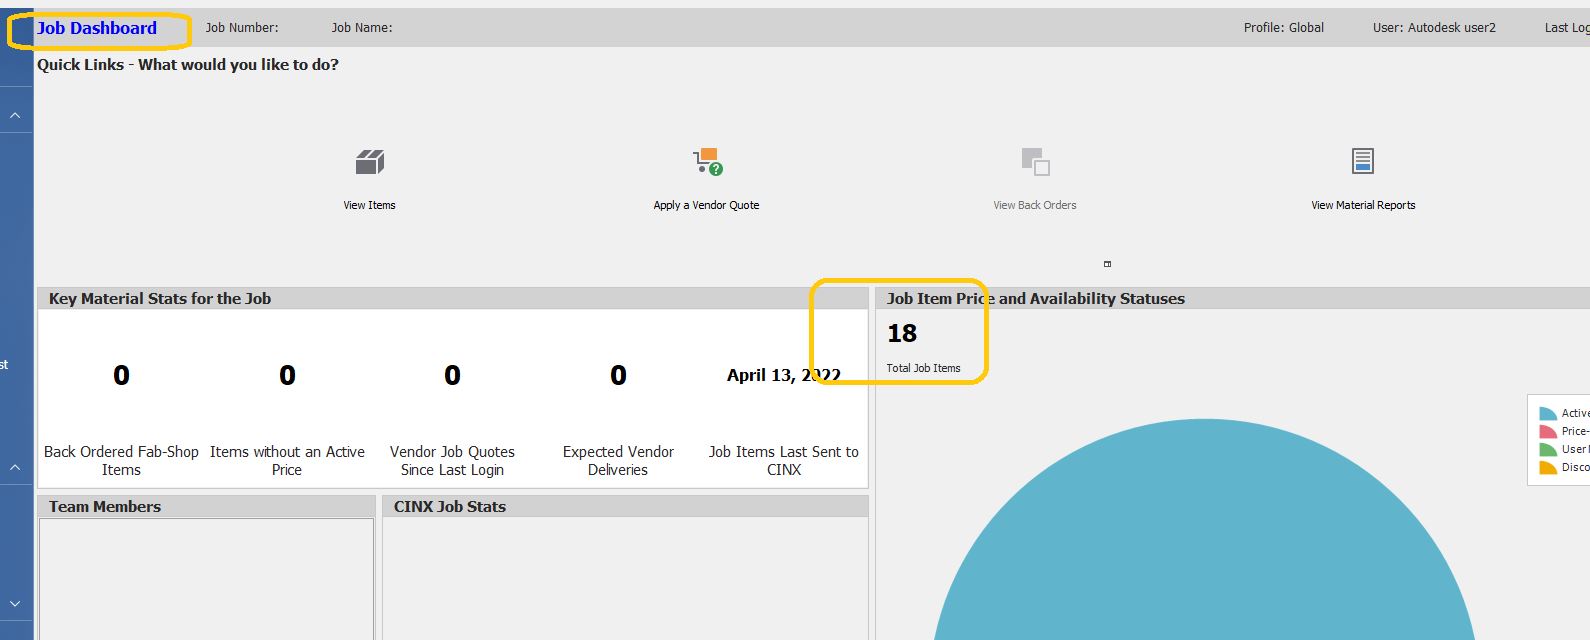
- When the job sync has finished, click either the View Items button or Item Browser menu option.
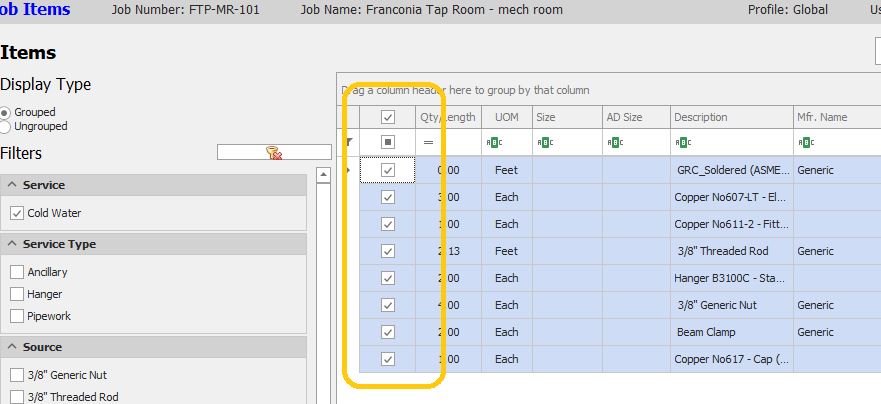
- This will open a page where you can filter and view the items that were synchronized.
Note: The left panel contains filter breakdowns Services, Systems, Source, Spools, and more. Note: There is also a Grouped or Ungrouped toggle. The Grouped option will combine like items into a single row in the grid with a calculated quantity.
Note: Item rows required a quantity greater than zero (0). Note: You can add more items to the RFQ after it is created.
- Select the items for the RFQ by clicking the rows in the grid OR the header row to select all items in the grid.
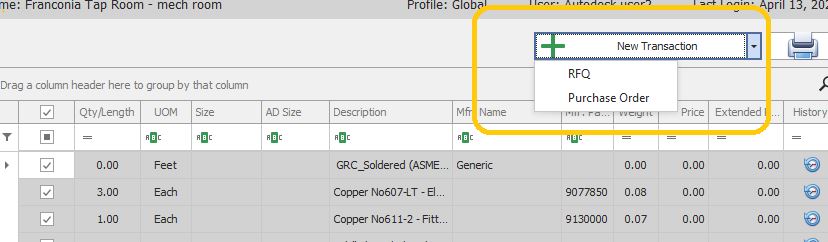
- Create the RFQ by opening the New Transaction drop-dwon and selecting the RFQ.
- Review/Enter the RFQ information and Vendor selections. Note: Default values for these settings can be defined in the Addin’s Settings. Note: RFQ number must be unique (not used on a prior transaction).
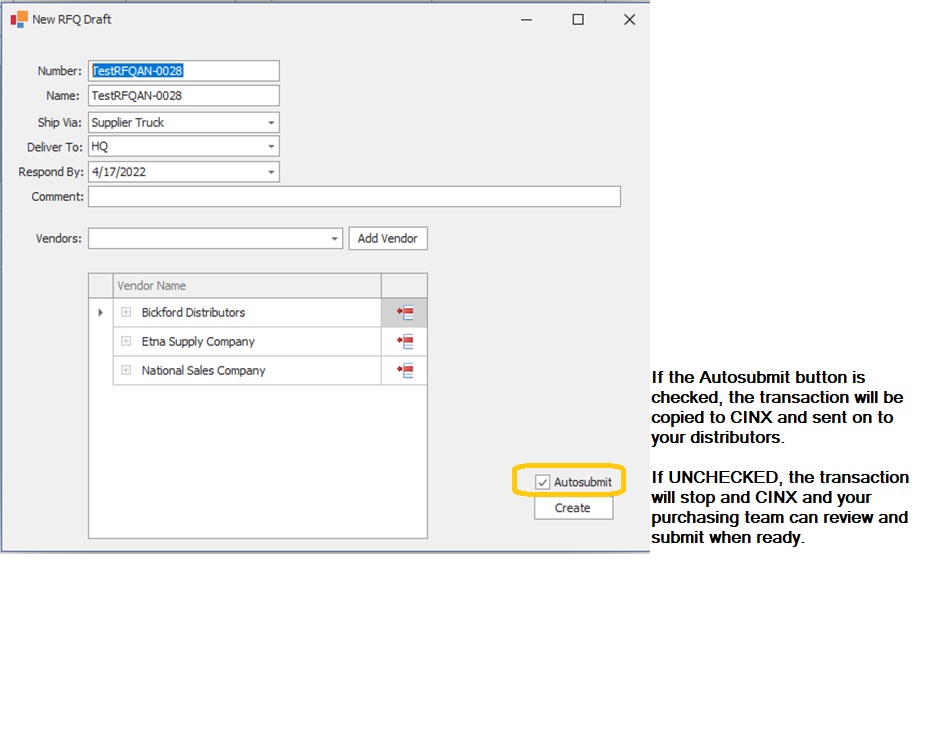
- Review/Modify the Autosubmit check box and Click Create.
- Review/Modify RFQ items.

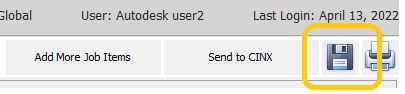
- **IMPORTANT** Click the DISK (save) icon if you made any changes.
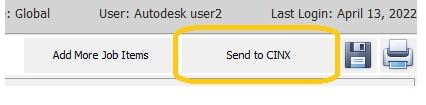
- When ready to submit, click the Send to CINX
- Once submitted, you will see a confirmation message. Click OK.
- Review the email. Both you and the vendor sales staff will receive an email notification with a pdf and Excel copy (For REFERENCE ONLY) of the RFQ.
- Wait for the Quote to be returned!
- Note: You will receive an email when the vendor is ready for your review in the Add-in