Create a CINX Project
To create a project in CINX is quite easy. A 4-step wizard will guide you through the process. There are several fields you can populate for the project, but only a handful are required. Look for the red asterisk to indicate a required field. Click here to watch the video tutorial.
If other CINX users from your company will be affiliated with this project, please make sure to assign them in the project (participants menu).
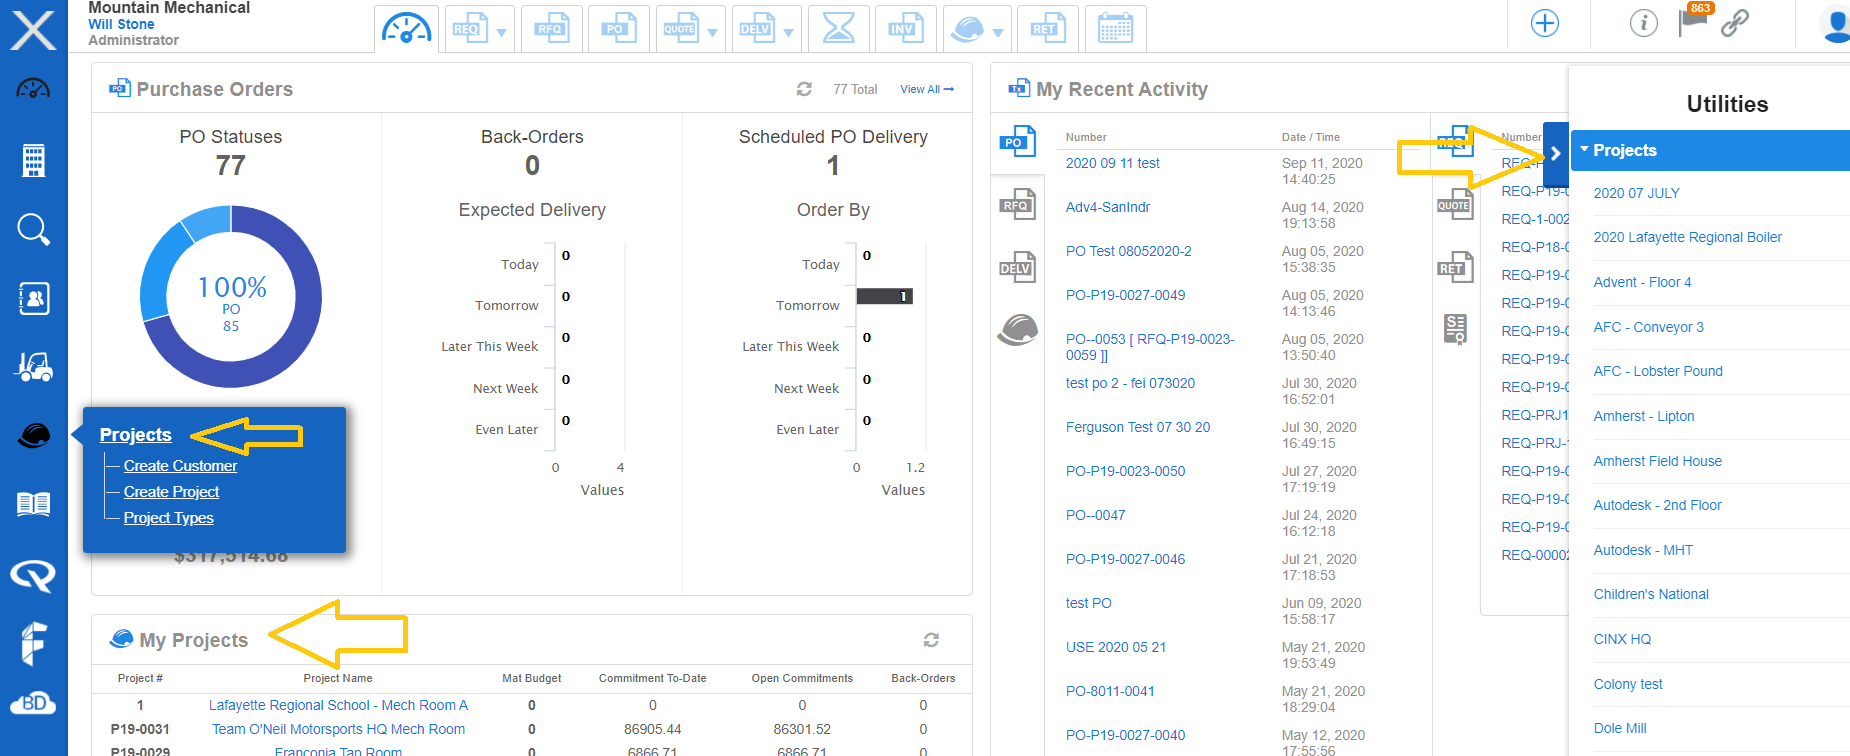
1. Click on the hard hat icon on the left menu and select Create Project.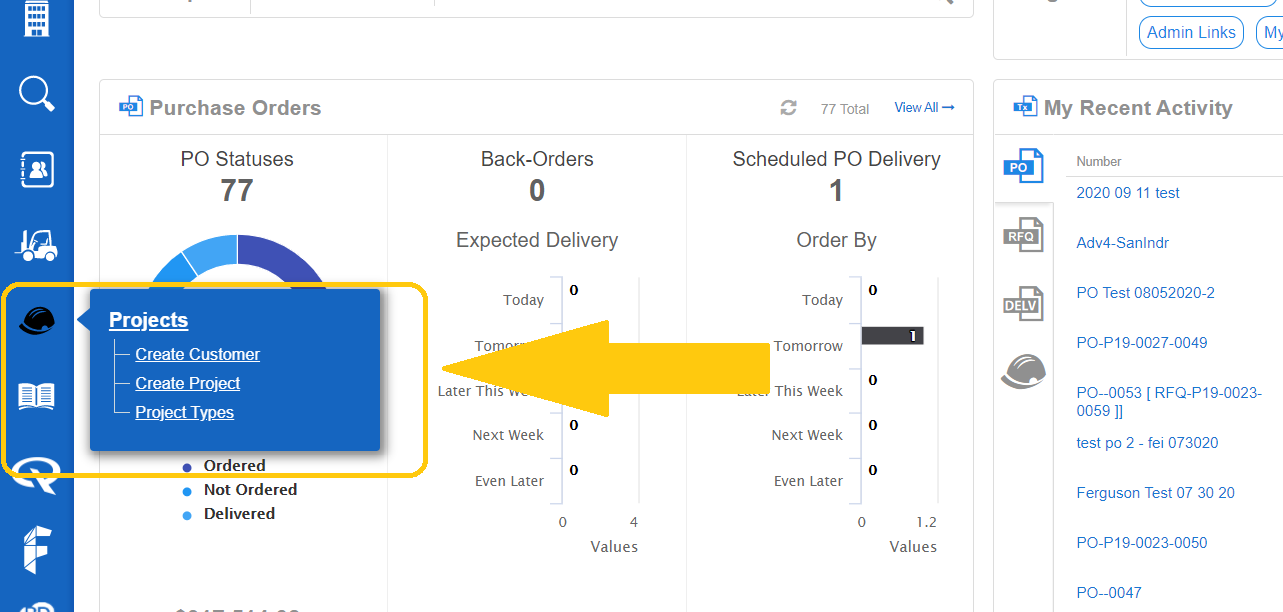
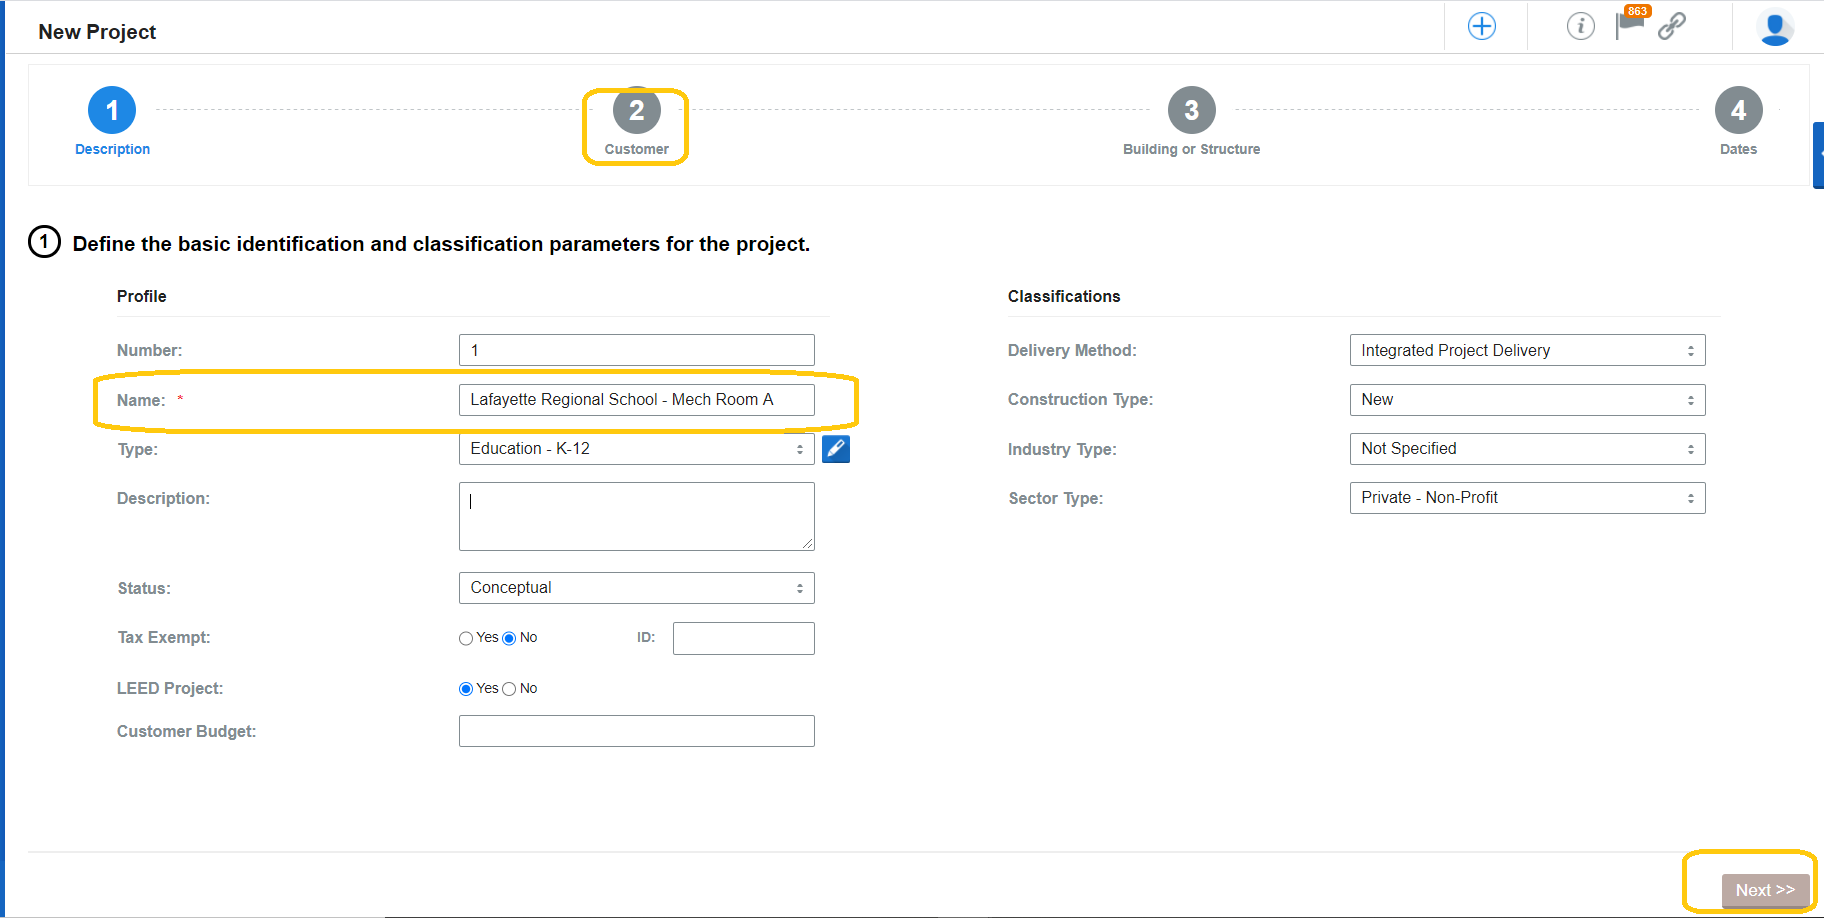
2. Step 1 - assign a project name. When completed, either click the 2/customer or NEXT.
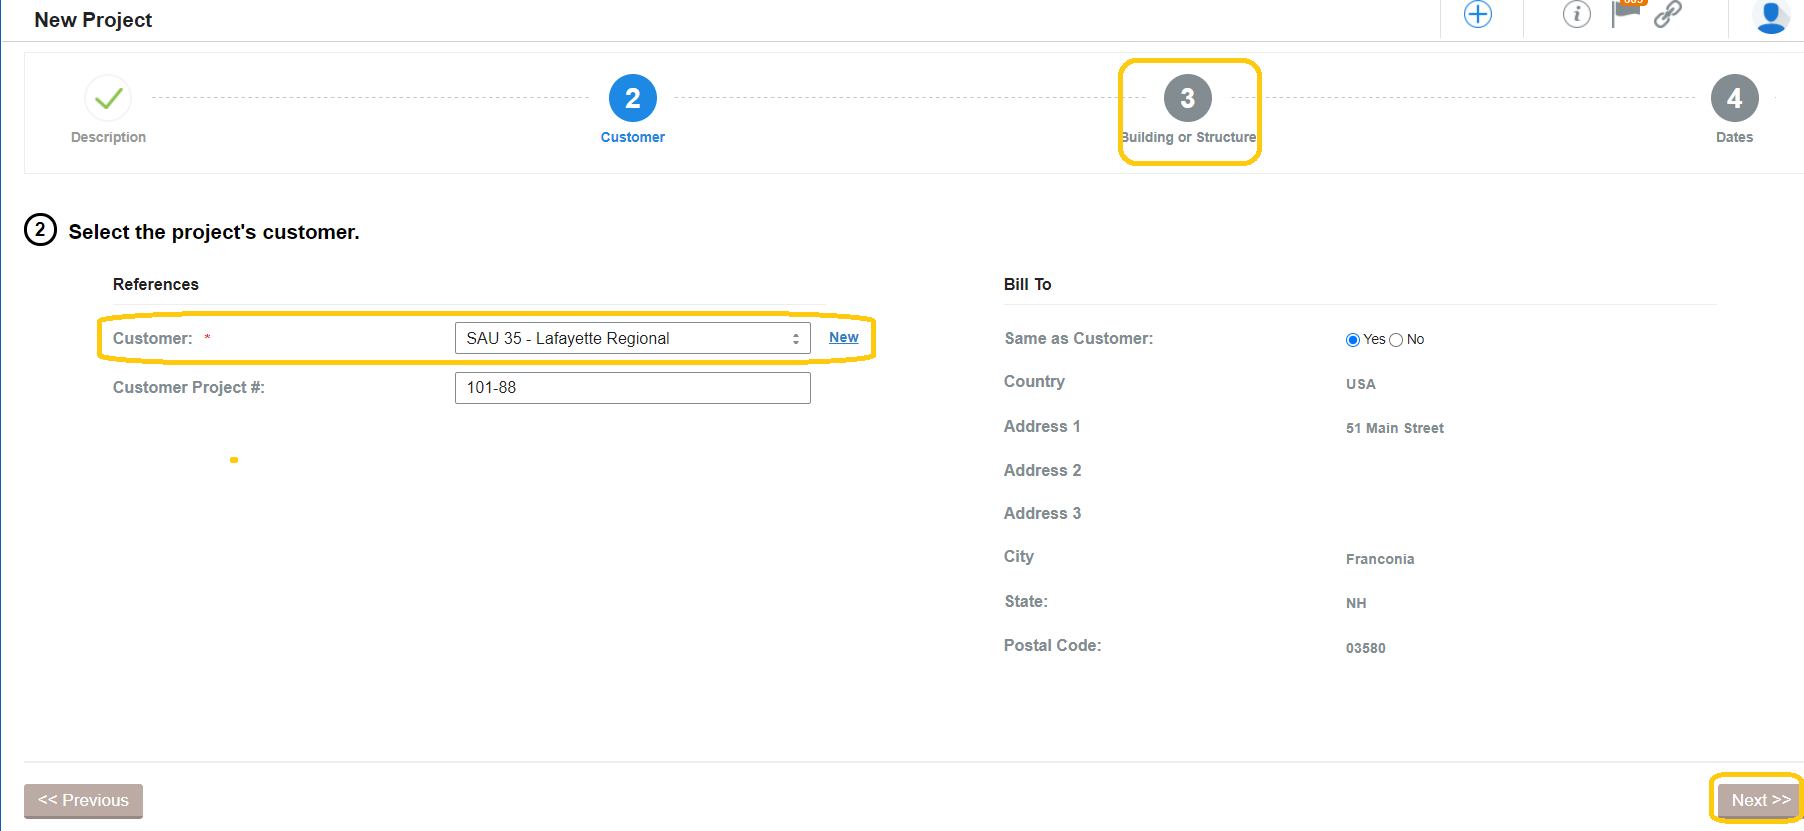
3. Step 2 - assign a Customer to the project. If you do not have an existing customer, simply click the NEW button and create the customer. Once completed, click the 3/Building or NEXT.
4. Step 3 - assign a Building to the project. If you need to create a building, simply click the blue NEW next to the building name field. Once the building is selected, click 4/Dates or NEXT.

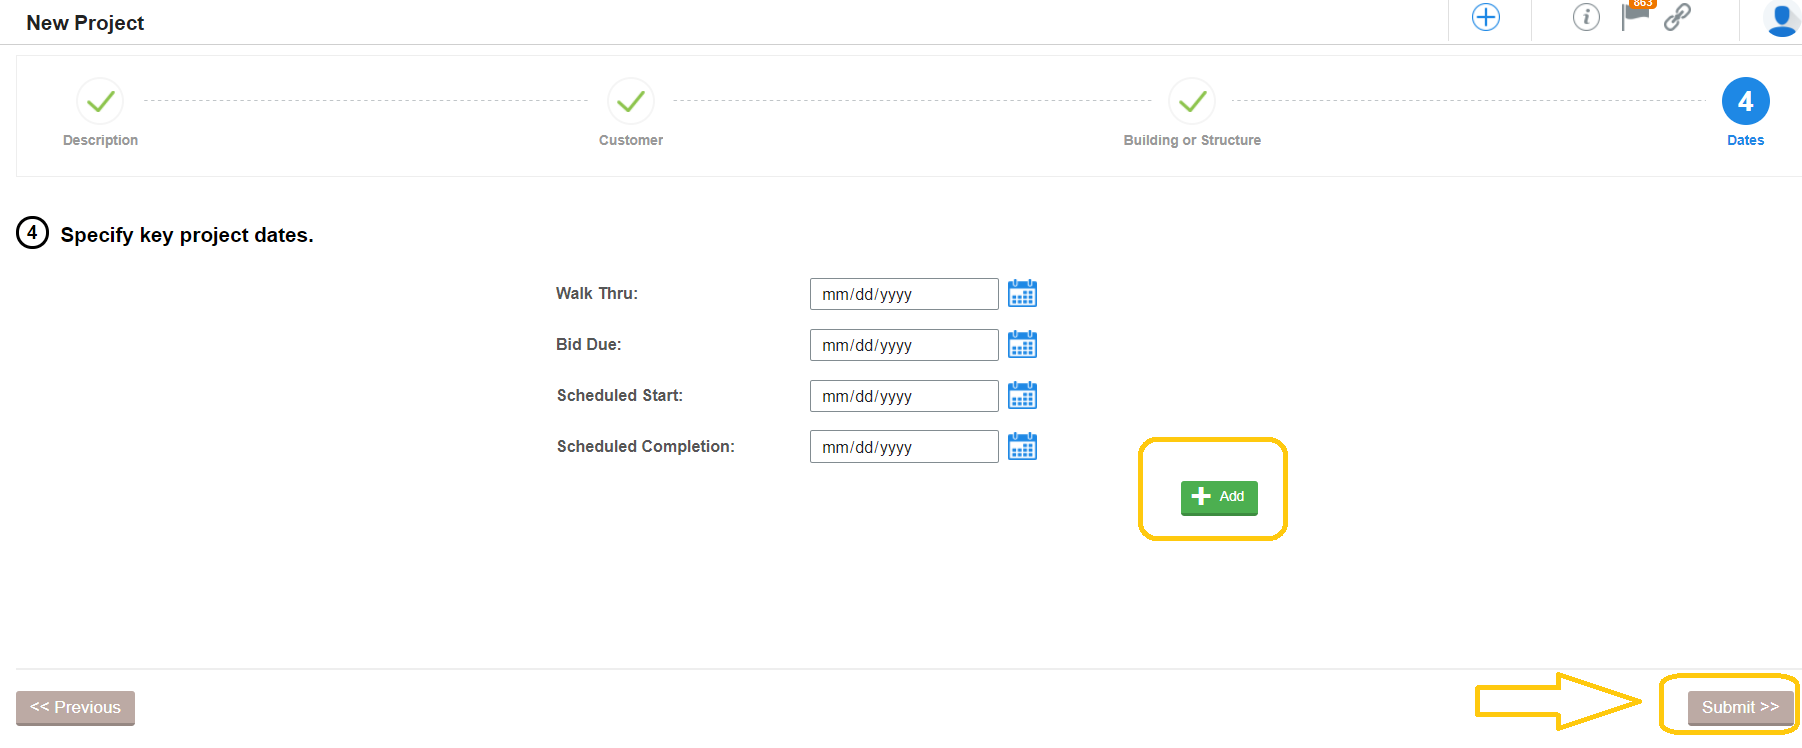
5. Step 4 - assigns dates to the project. You can add more date options by click the green ADD button. If you do not wish to assign any dates, simply click SUBMIT.
6. Your project has been created!
Note: you can access your projects in a variety of ways:
- project by click on the hard hat icon
- blue pull-tab/ utilities panel,
- dashboard widget
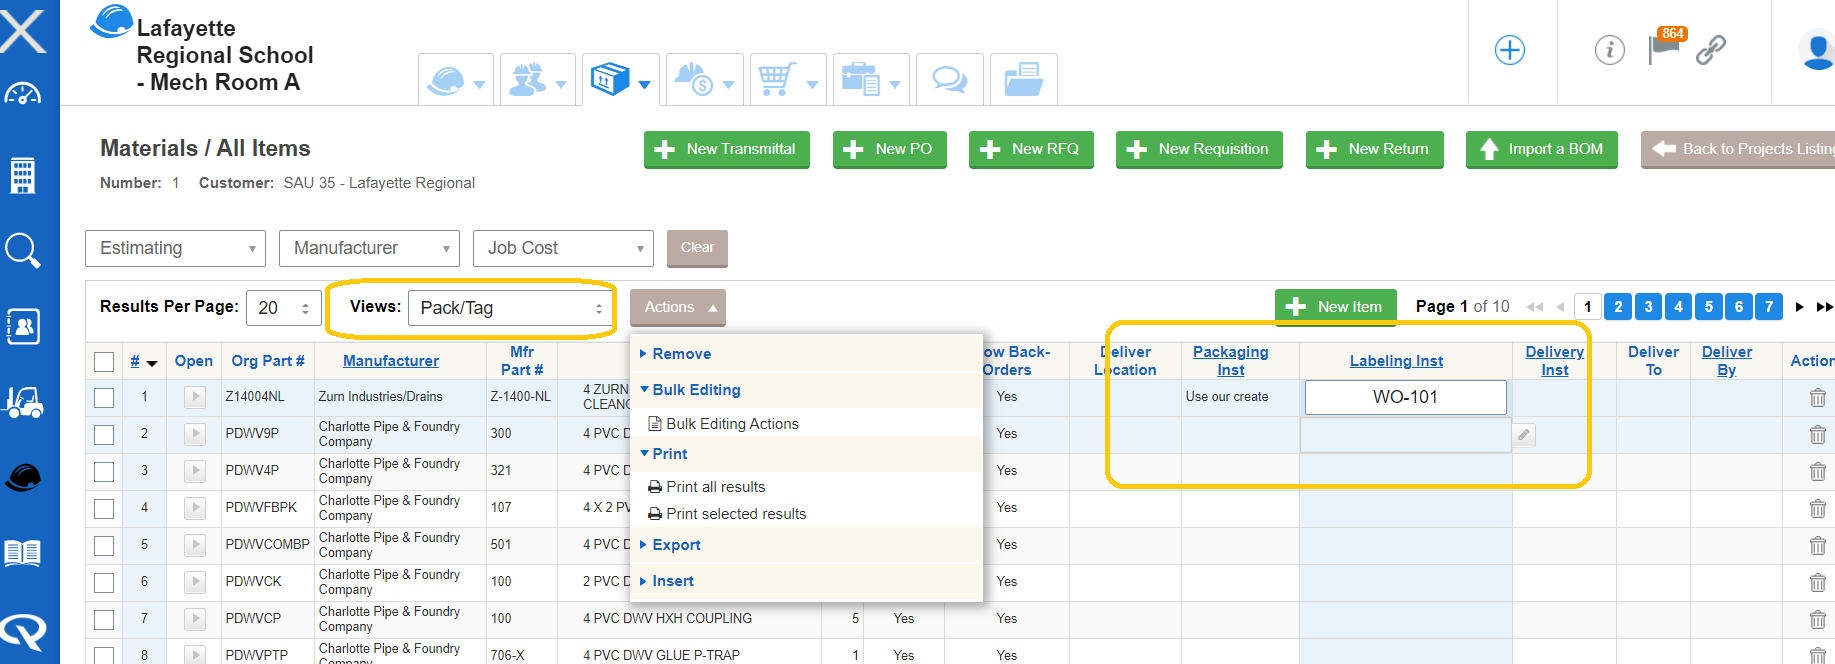
7. Now that you have your project, explore the different views of data and information. You can add, like Pack And Tag and delivery information. The Bulk Editing feature will help with this – see the Bulk Editing documentation for more information.
8. The project menu across the top gives you the option to add more information:
A. Participants, both internal and external
B. Materials (items in the project)
C. Job Costing information
D. Pricing / Transactions – view/apply quotes and see manufacturer price lists associated with the project.
E. Submittal builder
F. Comments
G. Document Storage – upload project documents and access project specific CINX transactions